WhatsApp:
+86 13188899036
Email:
[email protected]
Avoid your inquiry is delay response, please enter your WhatsApp/WeChat/Skype along with the message, so we can contact you at the very first time
We will reply you within 24 hours. If for urgent case, please add WhatsApp: +86 13188899036, or WeChat: 0531-87968777. Or call 0531-87968777 directly.
* We respect your confidentiality and all information are protected. We will only use your information to respond to your inquiry and will never send unsolicited emails or promotional messages.
Have you ever faced system inefficiencies due to the wrong valve size or type?
You can specify a butterfly valve by evaluating pipe size, pressure requirements, valve material, actuation method, and installation type, ensuring it fits perfectly into your system.
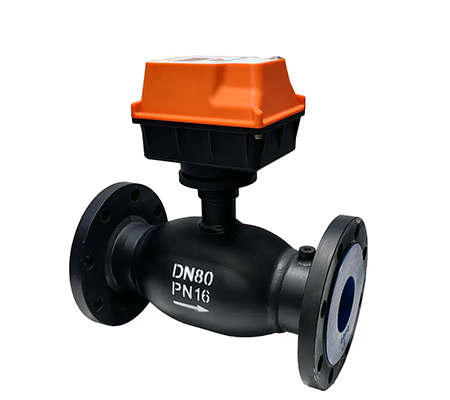
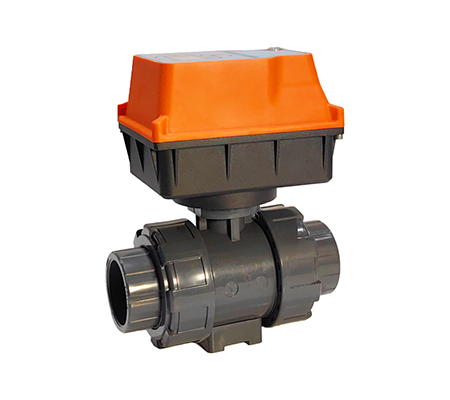
Butterfly valve specification
I have worked on numerous building energy projects. Through trial and error, I realized that specifying a butterfly valve correctly saves time, reduces maintenance, and enhances overall system performance. Now, let me break down how to approach valve specification clearly.
Do you often struggle to figure out which valve size is right for your system?
You identify butterfly valve size by matching pipe diameter, flow rate, and pressure needs. Manufacturers provide size charts based on these factors.
Choosing the correct butterfly valve size begins by understanding the system’s flow rate and pressure conditions. In my projects, I always collect basic data first—pipe diameter, maximum flow rate, and system pressure.
The nominal diameter of the valve (for example, 4 inches or DN100) typically corresponds to the pipeline size. However, matching pipe size alone is not enough. To ensure smooth operation, you must confirm the valve’s flow coefficient (Cv/Kv value)1 meets the required flow rate without causing pressure loss. Oversized valves can lead to poor control accuracy, while undersized ones create system strain.
Additionally, you should evaluate the pressure class rating. Systems with high-pressure surges need valves rated for those conditions. Ignoring this can cause valve failure or leakage.
Here’s a simple table summarizing the factors:
| Parameter | Importance |
|---|---|
| Pipe Diameter | Ensures correct fitting within the pipeline |
| Flow Coefficient | Maintains desired flow rate with minimal loss |
| Pressure Rating | Matches maximum system operating pressure |
| Temperature Range | Valve material must withstand fluid temperature |
| Fluid Type | Ensures material compatibility (chemical, water) |
In one case, I worked on a district heating project where the system pressure frequently spiked. I had to upgrade to a butterfly valve with a higher pressure class and reinforced seat material. That move prevented leaks and prolonged valve life, ultimately reducing maintenance costs.
Correctly identifying the valve size is the foundation for system efficiency, reliability, and long-term savings.
Do you sometimes wonder how to differentiate butterfly valves from other types?
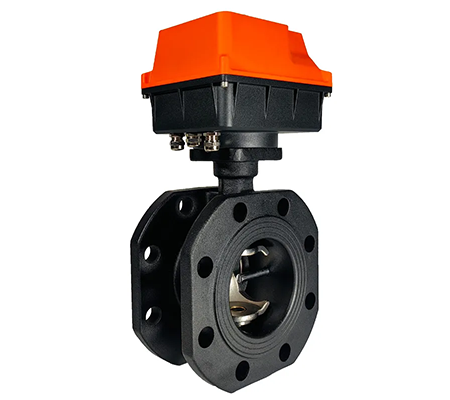
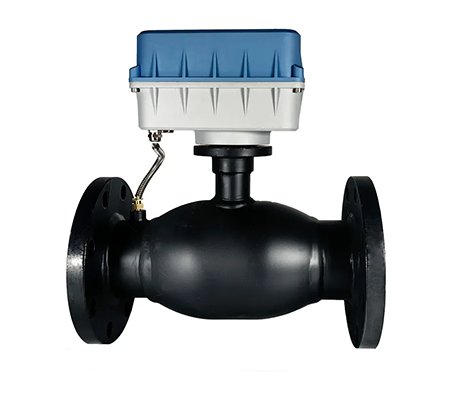
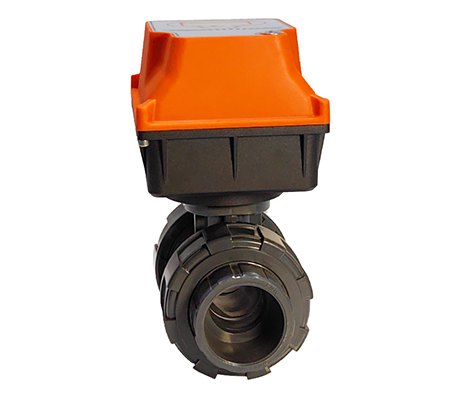
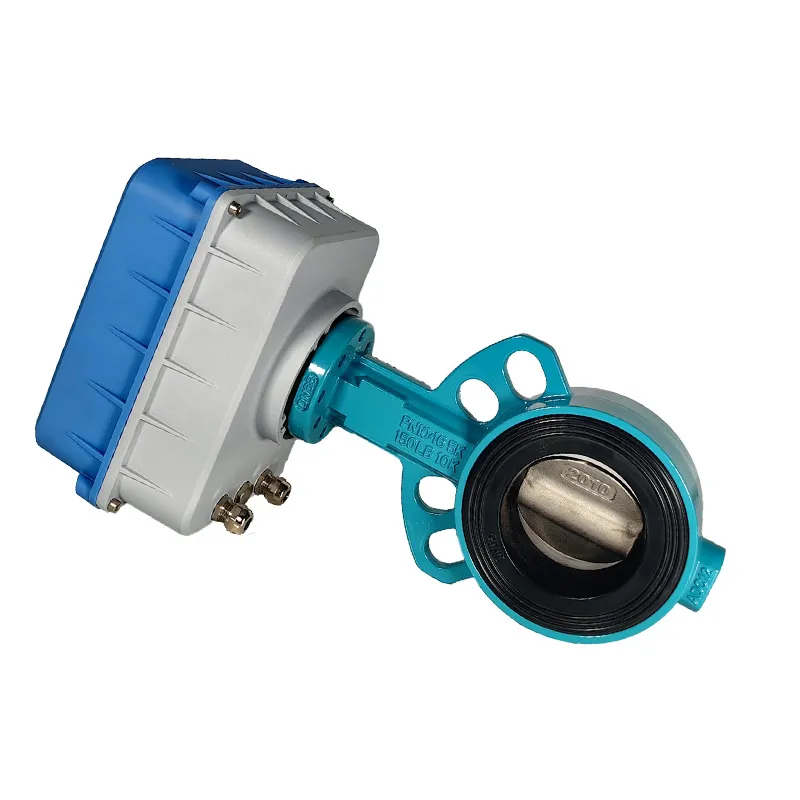
You can identify a butterfly valve by its flat, circular disc positioned in the center of the valve body, controlled by an actuator or handle that rotates the disc to regulate flow.
Butterfly valves have a distinct structure compared to ball or gate valves. Over the years, I’ve learned to recognize them instantly, especially in mechanical rooms.
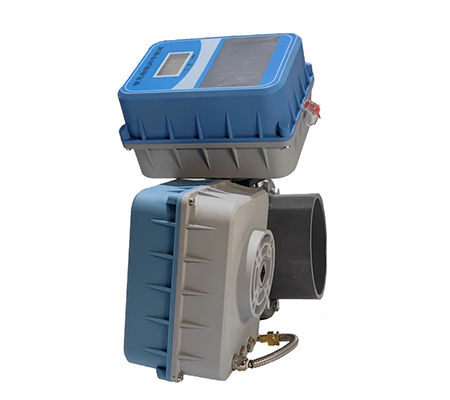
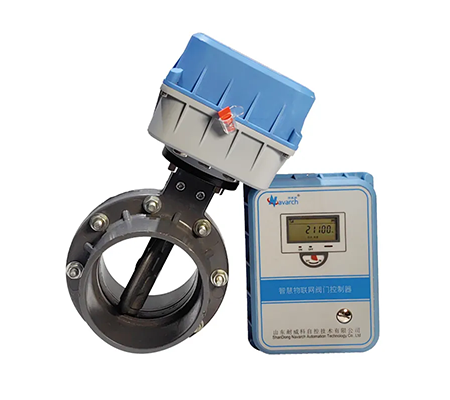
First, look at the valve body shape. Butterfly valves are typically slim and have a round disc mounted on a shaft in the center. This disc rotates 90 degrees to open or close flow. You’ll notice either a manual lever or a gear operator mounted on top, which controls the shaft. For larger or automated systems, you may see electric or pneumatic actuators attached to the top.
Another key identifier is the flange connection1. Butterfly valves often use wafer or lug-style mounting, fitting snugly between two pipeline flanges.
Below is a table highlighting their identifying features:
| Feature | Description |
|---|---|
| Disc Shape | Circular, rotates inside the pipe |
| Shaft/Stem Position | Central, connects disc to actuator |
| Body Type | Wafer, lug, or flanged |
| Actuator Type | Manual lever, gear, electric, pneumatic |
| Sealing Mechanism | Elastomeric or metal seat sealing |
I always check the valve body markings too. Most manufacturers stamp size, pressure rating, material grade, and model number on the body. This information makes it easier to confirm specifications on-site.
Identifying butterfly valves quickly is crucial. It ensures you’re using the correct component, especially during retrofits or maintenance.
Have you ever faced alignment or sealing issues when installing valves?
To fit a butterfly valve, align the valve between flanges, install the correct gaskets, ensure proper bolt torque2, and confirm disc clearance inside the pipe.
Proper installation of a butterfly valve ensures smooth operation and prevents leaks. Here’s how I typically approach it:
Here’s a summarized checklist:
| Installation Step | Purpose |
|---|---|
| Inspect Pipeline | Prevents damage to valve sealing |
| Check Valve & Actuator | Ensures proper operation and condition |
| Select Proper Gasket | Avoids leaks based on fluid compatibility |
| Align Valve Correctly | Ensures proper flow and prevents obstruction |
| Verify Disc Rotation | Confirms disc movement inside the pipeline |
| Tighten Bolts to Spec | Maintains secure sealing |
In one job, a careless installation left the valve misaligned. The disc couldn’t fully open, which choked the flow and increased pump workload. After reinstalling it with proper alignment, flow returned to normal, saving energy costs.
Correct valve fitting protects your system from avoidable failures and increases operational efficiency.
Do you get confused by terms like wafer, lug, or double offset?
The two basic styles of butterfly valves are wafer type3 and lug type. Wafer valves fit between two flanges with bolts passing through. Lug valves have threaded inserts allowing independent flange connection.
When I started working with valves, understanding the difference between wafer and lug butterfly valves was critical. Here’s a breakdown:
| Valve Style | Key Characteristics | Typical Application |
|---|---|---|
| Wafer Type | Sandwiched between two flanges, no threaded holes | Suitable for simple shut-off in pipelines |
| Lug Type | Threaded lugs allow independent flange connection | Allows isolation of one side of pipeline |
Wafer-Type Butterfly Valves:
These valves have a slim design and are cost-effective. Bolts run through both flanges and hold the valve tightly in place. You can’t remove one side of the piping without affecting the entire valve. I use wafer valves when maintenance access is limited or when the pipeline doesn’t need frequent isolation.
Lug-Type Butterfly Valves:
These have threaded inserts (lugs) around the body. Each flange is bolted separately, allowing one side of the piping to be disconnected without disturbing the other side. Lug valves are often chosen for systems requiring frequent maintenance or sectional isolation.
In one of my HVAC retrofit projects, I used lug-style valves to isolate different zones without shutting down the entire building’s water supply. This flexibility helped avoid downtime during maintenance.
The choice between wafer and lug styles depends on your project’s demands. Wafer valves offer a lower-cost solution, while lug valves provide better flexibility and system isolation.
Specifying the right butterfly valve ensures optimal flow control, prevents downtime, and improves system efficiency for the long term.